filmov
tv
Part 8/38. Targets bones - Learning Moho from beginner to expert

Показать описание
In this series of 38 tutorials you will quickly learn all the basics of working with the software.
The tutorials are organized in seven sections and were designed to be easy to follow, clear and to the point.
Basic Interface
videos 1 to 4
In the first part, you will learn the overall interface, how the layer structures work, what is the logic of the timeline, how you can animate already created characters and how to export your animation.
Basic rigging with bitmaps
videos 5 to 12
In the second part, we will show you how to create a puppet from a Photoshop file. You will learn how to prepare the illustration, create a basic skeleton and even create distortion meshes and Smart Bones to animate expressions easily.
Basic Animation
videos 13 to 15
In the third part we will cover concepts about movement, how to use different keyframes types, why and how to use the graph and even create cycles of animation.
Vector Drawing
Videos 16 to 21
Once you know all the basics of working with images, we will move to the vector drawing tools coming with Moho. In this fourth section you will learn everything related to the drawing and filling tools, the basics of masking, the power of Liquid shapes and, finally, how to draw an entire character in Moho.
Rigging Vectors
videos 22 to 26
The fifth section will show you the difference between rigging vector and images, how to set up Smart bones for vector, rigging and entire character, creating Vitruvian bones and animating the vector character.
Animating Backgrounds
video 27
With all that done, in the sixth section we will move to set up our background. You will learn how to create parallax to give more depth to your scene, use the camera tools and even add automatic wind to your scene.
More tools in detail
videos 28 to 38
Finally, we will cover other tools that can be very useful for your characters and scenes, such as the different options of the timeline, controlled bones, the powerful particle system, frame-by-frame layers, automatic physics, scripts, actions, references, quad meshes, brushes and layer comps.
Character and props illustrations made by Óscar Chávez. Background illustration made by María Pareja.
For tutorials about the new Moho 14 features, please check this playlist:
Do you have questions or need feedback? Join our Official forum:
and Discord server to share your work and discuss ideas with the Moho community!
 0:09:55
Part 8/38. Targets bones - Learning Moho from beginner to expert
 0:00:05
Don't make eye contact
 0:00:12
SPIDER BITES BOY! #shorts
 0:09:21
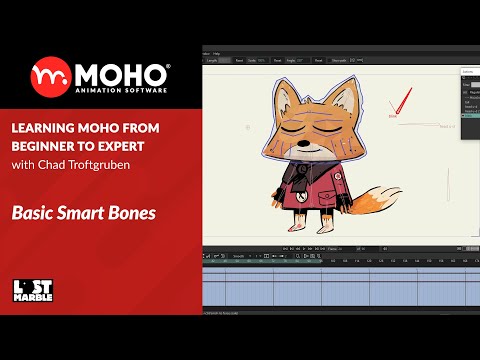
Part 12/38. Basic Smart Bones - Learning Moho from beginner to expert
 0:00:11
Having 9 babies at once?!
 0:00:14
76 kgs - 59 kgs Belly Fat loss Journey (Full Body Transformation)
 0:00:40
the Vecna transformation is 🤯 #shorts #strangerthings #netflix
 0:00:10
Moho target bones issue
 0:00:31
Triple Jumpscare with Granny Nosfertu and Slendrina mother in Granny Update PC Mod
 0:04:38
MOHO PRO - Target Bones - Stretching
 13:20:52
On Awakening Day, Everyone Else Awakened One Class, Only I Awakened 100 Classes
 0:00:19
Switching to your pistol is faster than reloading | @theleveractionkid
 0:00:38
Schoolboy Runaway // All photos from the game are in full resolution
 0:00:22
How Many Balloons To Make A Store Fly?
 0:00:55
Kids On The Playground
 0:00:16
When You Bully the Wrong Person 👀 😎👊 #kmovies #shorts
 0:00:15
Fakhar Zaman Six or out?🔥🔥🔥 #ausvspak2022 #fakharzaman #six
 0:00:32
Ronaldo Jr in disguise 👀. #mehransdinosaurs #footballmemes #ronaldojr #footballskills #football
 0:00:11
why I married an older man #shorts
 0:00:19
Would you punch her for 1 Million dollars 💵!?? (1,000,000$)
 0:00:38
You Want Believe Why Ronaldo Punished Cristiano Junior! 😱 || Cristiano Ronaldo || #shorts #ronaldo...
 0:00:16
skibidi toilet 11
 0:00:32
Do You Even Workout ?
 0:00:11
Which one is the Rock ? #shorts
Комментарии