filmov
tv
How to create new python project in VS Code (Step by Step)

Показать описание
In this video, I will show you how to create a new python project in Visual Studio Code (VS Code) step by step.
Create a new Python project in Visual Studio Code:
Prerequisites:
o You have Python installed on your system.
o You also have installed the Python extension in VS Code.
1. Create a New Project Folder:
o Create a new folder on your computer where you want to store your Python project.
o You can name it something like my_python_project.
2. Open the Folder in VS Code:
o Open VS Code.
o Go to File, Open Folder... and select the folder you just created.
3. Set Up a Virtual Environment (Optional but Recommended):
o In the terminal, navigate to your project folder.
o Create a virtual environment by running python -m venv venv.
o Activate the virtual environment:
On Windows: .\venv\Scripts\activate
o Deactivate the virtual environment:
On Windows: deactivate
o Install any necessary packages using pip install package_name.
4. Configure the Python Interpreter:
o Press Ctrl+Shift+P to open the Command Palette.
o Type Python: Select Interpreter in the Command Palette.
o Select the interpreter from the list (make sure to select the one from your virtual environment if you set one up).
5. Create a New Python File:
o In the Explorer view (left sidebar), click on the New File icon or right-click in the folder and select New File.
6. Write Your Python Code:
o Open the newly created Python file and start writing your Python code.
7. Run Your Python Code:
o Click the play button (▶️) in the top-right corner of the editor. This will run the current Python file using the selected interpreter.
o Alternatively, open the terminal in VS Code (View, Terminal or `Ctrl+ J`).
#python #vscode #pythonprogramming
 0:07:00
Pycharm Tutorial #1 - Create New Project and Python File In Pycharm + Setup for Beginners
 0:04:39
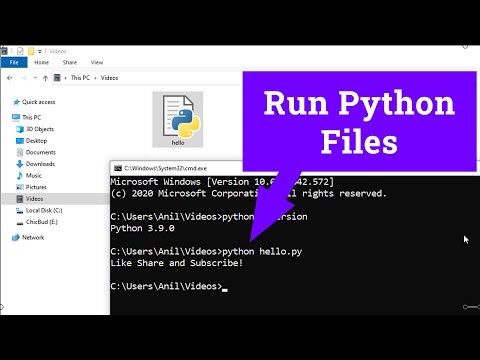
#2 Python Tutorial for Beginners | Know, Create and Run Python Files (.PY files) in Command Prompt
 0:06:57
How to set up Python on Visual Studio Code
 1:00:06
Python for Beginners - Learn Python in 1 Hour
 1:03:21
👩💻 Python for Beginners Tutorial
 0:04:45
Python tkinter how to open new windows 🗔
 0:20:39
My Python Development Environment Setup - Full Tutorial
 0:05:12
Create and run your first python script
 0:01:00
Build Your Own SaaS Tool Using Bolt New #ai #seo #saas
 0:15:52
The Complete Guide to Python Virtual Environments!
 0:03:50
How to Setup Python on Microsoft Visual Studio 2022 | Amit Thinks
 0:12:06
You MUST WATCH THIS before installing PYTHON. PLEASE DON'T MAKE this MISTAKE.
 0:06:13
How to Run Python Programs ( .py files ) on Windows 11 ( All Options )
 0:08:49
First Python App in Visual Studio 2022 | Getting Started
 0:02:21
Create Virtual Environment Visual Studio Code | Virtual Environment in Python
 0:02:54
Python write a file 📝
 6:14:07
Python Tutorial - Python Full Course for Beginners
 4:26:52
Learn Python - Full Course for Beginners [Tutorial]
 0:37:50
Python HOW TO structure a Beginner OR Advanced Projects ?
 0:02:37
How to Run a Python ( .py ) File in Windows laptop / computer
 0:13:33
Virtual Environments in Python - Crash Course
 0:05:19
How to create a Simple Flask app in just 5 minutes | Python Flask Tutorial for beginners
 1:02:36
Python Django Tutorial for Beginners
 0:09:56
Importing Your Own Python Modules Properly
Комментарии