filmov
tv
How to Replace the Radiator on a 1998-2003 Dodge Durango

Показать описание
Website
Stay connected at:
Disclaimer
Owing to factors beyond the control of How to Automotive/Brian Eslick, it cannot guarantee against unauthorized modification of this information, or improper use of this information. How to Automotive/Brian Eslick assumes no liability for property damage or injury incurred as a result of any information contained in this video. How to Automotive/Brian Eslick recommends safe practice when working with power tools, automotive lifts, lifting tools, jacks and jack stands, electrical equipment, blunt instruments, chemical lubricants, or any other tools or equipment seen or implied in this video. Because of factors beyond the control of How to Automotive/Brian Eslick, no information contained in this video shall express or imply warranty or guarantee of any particular result. Any injury, damage or loss that may result from improper use of these tools, equipment, or information contained in this video is the sole responsibility of the user and not How to Automotive/Brain Eslick
 0:18:26
How to Replace a Radiator (Complete Guide)
 0:02:04
How to replace a radiator
 0:11:19
How to Remove and Replace a Radiator For Decorating - No Draining Required!
 0:09:11
How to replace a radiator (Radiator Replacement) tutorial
 0:26:59
10 STEPS HOW TO CHANGE YOUR RADIATOR
 0:05:37
How to Install a Radiator with Wickes
 0:42:55
How to Replace a Radiator with out draining the system
 0:15:43
Easiest Way To Replace a Radiator
 0:01:02
(HINDI) | Why This Radiator Will Make Your Car Run BETTER | @Brotomotiv @mukeshchandragond
 0:07:45
How to Replace a Single Radiator with a Double Radiator
 0:12:05
How to replace an old radiator
 0:15:41
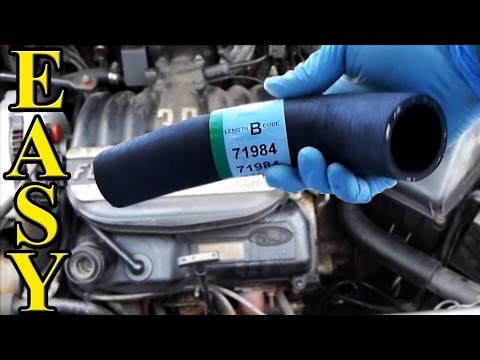
How to Replace a Radiator Hose (Upper and Lower)
 0:17:23
How to Replace Radiator 2007-2011 Toyota Camry 2.4L I4
 0:18:54
How to remove & refit a radiator without draining central heating system. Radiator valve isolati...
 0:14:53
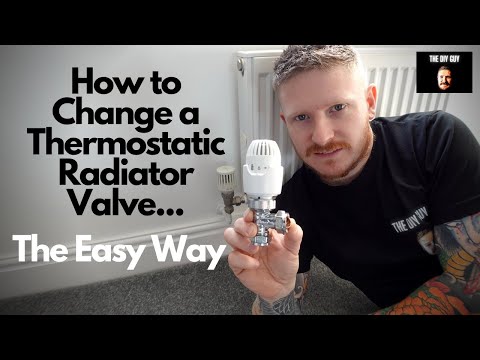
How to Change a Thermostatic Radiator Valve Without Draining The System
 0:04:25
How to correctly measure a radiator for replacement
 0:28:02
How To Replace a Radiator, and Fill Cooling System
 0:27:58
Replace Radiator Valve with Out Draining the System. Updated. Part 1.
 0:53:29
How to Replace Radiator 09-18 RAM 1500
 0:08:38
How to Replace a Small Radiator With a Large One by Trade Radiators
 0:11:26
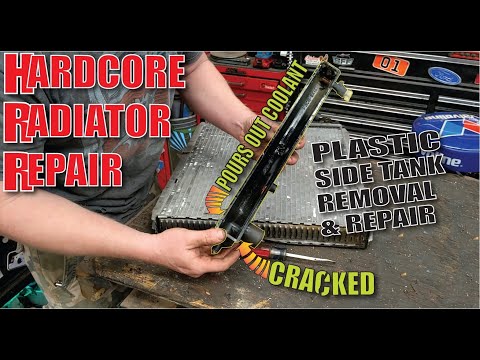
How to Repair a Leaking Car Radiator -Busted Plastic Side Top Tank
 0:20:24
How to Replace Radiator 1999-2007 Chevy Silverado
 0:09:24
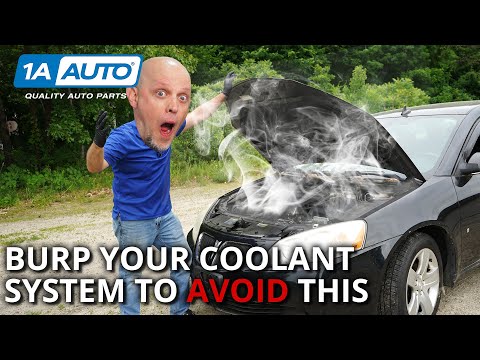
Overheating After Replacing Radiator, Pump, Thermostat? Burp Coolant to Remove Air Pockets!
 0:14:54
How to Replace A Radiator - Subaru Impreza 2.5L
Комментарии