filmov
tv
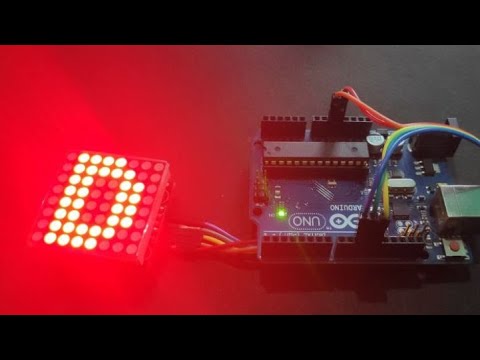
8x8 LED Matrix for Arduino

Показать описание
One of the Arduino components that have greatly intrigued me is the 8x8 LED Matrix. It lets you control 64 LEDs with just 16 pins, meaning we have to go through a pretty interesting thought process to ensure that the display shows what we intend.
In this video, we will delve into how the matrix works, including the type of logic we have to use to correctly light each pixel, as well as how to set up resistors so we don't cause damage to our LEDs.
= Links =
To download, click "Download" on the left sidebar, and select "Download Repository".
= 0612 TV =
Enjoy your stay, and don't hesitate to drop me a comment or a personal message to my inbox =) If you like my work, don't forget to subscribe!
= NERDfirst =
NERDfirst is a project allowing me to go above and beyond YouTube videos into areas like app and game development. It will also contain the official 0612 TV blog and other resources.
-----
Disclaimer: Please note that any information is provided on this channel in good faith, but I cannot guarantee 100% accuracy / correctness on all content. Contributors to this channel are not to be held responsible for any possible outcomes from your use of the information.
 0:07:52
MAX7219 8x8 LED Matrix - Basics | Working | Circuit | Simulation | Arduino Code
 0:00:09
MAX7219 8x8 LED Matrix: A Closer Look 🧐🚥💡#shorts #diy #arduino #electronic #arduinoproject #howto...
 0:10:59
MAX7219 8x8 LED MATRIX ASSEMBLY AND TESTING using ARDUINO
 0:00:27
8X8 Dot Matrix Led Display & Arduino Mega
 0:00:14
Arduino Nano 8x8 LED Matrix
 0:05:48
Adafruit Neopixel 8x8 led matrix with Arduino individually addressable led matrix
 0:01:15
Arduino 8x8 LED Matrix Starter Kit
 0:11:51
How to use WS2812 8x8 LED matrix with Arduino and FastLED library
 0:00:20
MAX7219 8×8LED matrix#shorts#diy#electronic#arduino#arduinoproject #howto
 0:04:32
Arduino Tutorial: 8x8 RGB Led Matrix with WS2812 driver with Arduino Uno from Banggood.com
 0:00:24
MAX7219 8x8 LED Matrix / HC-SR04 Ultrasonic Sensor / Arduino Nano
 0:00:27
WS2812 LED 5050 RGB 8x8 LED Matrix for Arduino
 0:05:34
Arduino Project: 8x8 LED Matrix Array & MAX7219 Drivers
 0:00:15
MAX7219 8x8 LED Matrix - Basics | Working #unboxing #arduino #shorts #shortsfeed #reels #diy #apple
 0:04:19
Arduino Text Scrolling Display | MAX7219 Dot Matrix 4-in-1
 0:04:37
Arduino SMD LED Matrix 8x8: The all-in-one board
 0:02:13
MAX7219 8x8 led matrix and arduino - write text tutorial
 0:00:48
8X8 64 LED Matrix Demonstration - Arduino
 0:04:25
8x8 LED Matrix Review
 0:00:31
Arduino and 8x8 LED matrix (w/MAX7219)
 0:00:12
Introduce to 8×8led matrix module#unboxing#diy#arduino project#shorts#ytshorts
 0:00:23
M5Stack Puzzle Unit 8x8 LED Matrix (WS2812E)#m5stack #ws2812 #ledmatrix #unitpuzzle
 0:03:45
8x8 LED matrix
 0:00:53
MAX7219 8X8 LED Matrix
Комментарии