filmov
tv
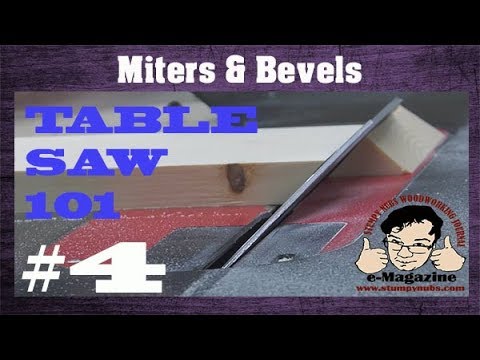
5 Expert Table Saw Tips

Показать описание
0:00 Introduction
0:25 Lining up the cut mark
1:44 Squaring the miter gauge
3:55 Keeping wood from pinching the blade
5:22 Cutting plastic
6:47 Setting the blade angle
9:36 Setting the miter gauge angle
Pick up one of Nick’s books FREE just for visiting!
To follow us on social media, try:
For our non-English-speaking viewers: Closed captions can be set to any language. Click on “CC” (Closed Captions) at the bottom of the screen to turn them on. Click on the gear (Settings) and a menu appears. Click on “Subtitles/CC” and another menu will appear. Click on “Auto Translate” and a menu of languages will appear. Click on the language you want for the closed captions and you will be returned to the video -- closed captions will appear in the language you have chosen. If these captions cover up some of the action, place the cursor over the captions, press and hold the left mouse button, then drag the captions to where you want them on your screen. Release the mouse buttons and they’ll stay there.
Para nuestros espectadores que no hablan inglés: los subtítulos se pueden configurar en cualquier idioma. Haga clic en "CC" (Subtítulos) en la parte inferior de la pantalla para activarlos. Haga clic en el engranaje (Configuración) y aparecerá un menú. Haga clic en "Subtítulos/CC" y aparecerá otro menú. Haga clic en "Traducir automáticamente" y aparecerá un menú de idiomas. Haga clic en el idioma que desea para los subtítulos y volverá al video; los subtítulos aparecerán en el idioma que haya elegido. Si estos subtítulos cubren parte de la acción, coloque el cursor sobre los subtítulos, presione y mantenga presionado el botón izquierdo del mouse, luego arrastre los subtítulos a donde quiera que estén en su pantalla. Suelte los botones del mouse y permanecerán allí.
And thank you so much for your time and interest!
 0:11:18
5 Expert Table Saw Tips
 0:15:17
5 More Expert Table Saw Tips
 0:14:11
12 Table Saw Tips & Tricks Your Auntie warned you about // Table Saw Full Size Tips
 0:12:13
5 Quick Table Saw Tips - Episode 6
 0:12:45
5 Amazing Woodworking Tools Hacks | Table Saw Tips & Tricks
 0:10:54
After this video you'll make better table saw RIP cuts
 0:11:10
Top 5 Tips for your Table Saw!
 0:16:58
Top 10 Woodworking Table Saw Jigs and Accessories & How To Make Them - According to Me
 14:08:42
i've become an NPC inside a VR game one year before the server launch, so i became the final bo...
 0:09:36
How To Use A Table Saw (Tips & Tricks) || Dr Decks
 0:06:33
Five Tips for Jobsite Table Saw Safety
 0:07:01
Table Saw Tips
 0:05:12
The One Simple Table Saw Hack You've Probably Never Heard Of
 0:21:04
Woodworking Tricks You'll Actually Use || Table Saw How To
 0:17:16
Table saw secret nobody will talk about from the good old days, C&T episode 180
 0:07:55
Simple Guide to Table Saw Safety | Ask This Old House
 0:19:53
Top 10 Table Saw Safety Tips
 0:09:16
Easy Safety Tips for Better Table Saw Usage
 0:00:15
WORKSHOP TIPS - Table Saw - Accurate & Repeatable Cuts!
 0:10:11
This video will change the way you cut miters and bevels with a table saw!
 0:44:01
Table Saw Basics 101: Complete Beginners Guide
 0:09:01
Woodworking Tips For the Table Saw | Template Cutting & More
 0:00:24
Very resourceful GIRL 🤯 #camping #survival #bushcraft #outdoors
 0:03:20
Jigsaw Orbital Blade Settings | Tricks of the Trade
Комментарии