filmov
tv
How to Create CSS Tooltips with Positioning and Arrows | Step-by-Step Guide

Показать описание
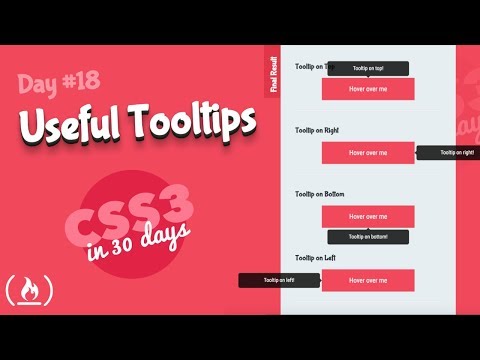
In this step-by-step guide, you'll learn how to create stylish and functional tooltips using CSS, focusing on positioning and adding arrows to enhance the user experience. Tooltips are a great way to provide additional information or context when users hover over elements on your webpage, making your site more interactive and user-friendly.
We'll start by showing you how to create basic tooltips with CSS, covering how to position them relative to the element they describe. You’ll learn how to use CSS properties like position, top, bottom, left, and right to precisely control where your tooltips appear.
Next, we'll add arrows to your tooltips, giving them a polished, professional look. You’ll discover how to use CSS pseudo-elements like ::before and ::after to create custom arrow shapes that point towards the element being described.
Finally, we’ll add a fade-in effect to make your tooltips appear smoothly when users hover over an element, enhancing the visual appeal of your site. By the end of this tutorial, you'll have the skills to create responsive, well-positioned tooltips with arrows and smooth animations, making your web projects more engaging and accessible.
Connect with us for free on other digital platforms!
#csstooltips #webdesign #learncss #tooltipdesign #cssarrows #csspositioning #frontenddevelopment #cssanimation #webdevelopment #uiuxdesign
Tags:
How to Design Custom Tooltips in CSS | Positioning, Arrows, and Fade-In Effects
How to Make Responsive CSS Tooltips with Arrows and Fade-In Animation
How to Master Tooltip Design in CSS | Positioning, Arrows, and Effects
How to Add Stylish Tooltips to Your Website with CSS | Easy Tutorial
 0:15:05
 0:05:55
 0:04:18
 0:10:34
 0:11:27
 0:01:56
 0:30:58
 0:04:26
 0:04:20
 0:05:47
 0:05:16
 0:06:23
 0:07:54
 0:11:05
 0:00:34
 0:00:16
 0:04:14
 0:03:07
 0:00:20
 0:06:32
 0:09:05
 0:07:03
 0:10:30
 0:14:43