filmov
tv
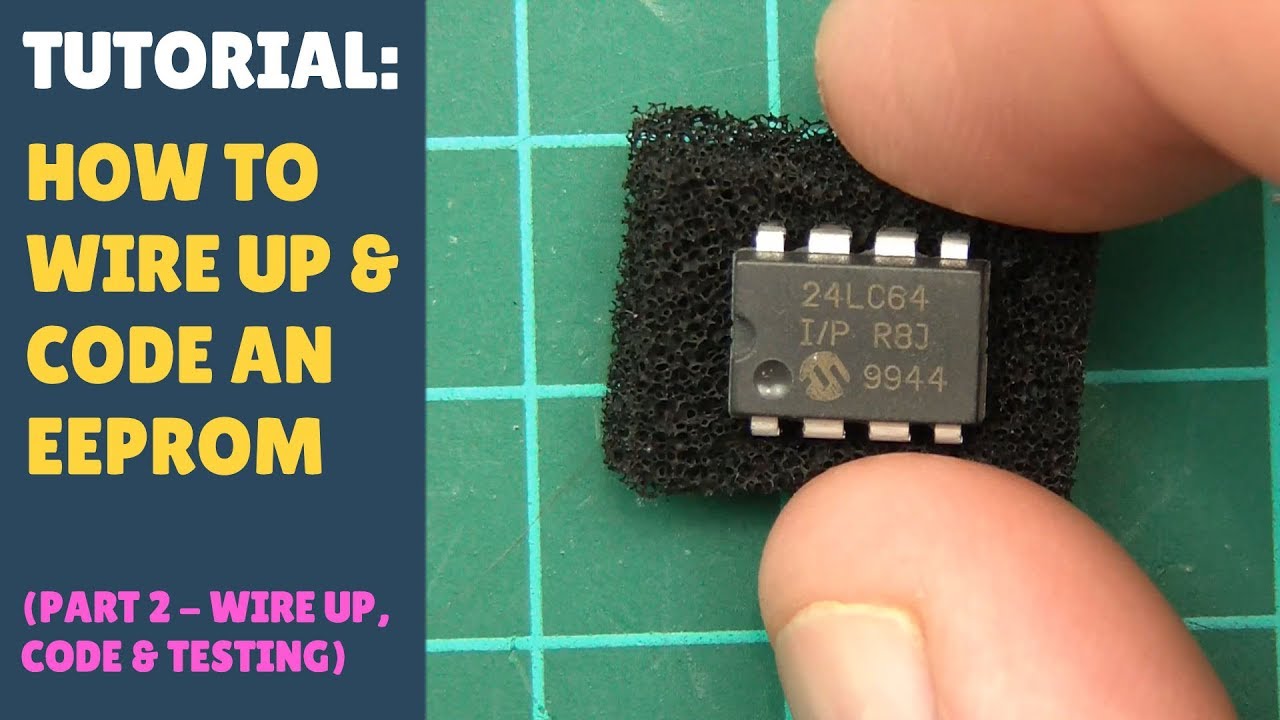
TUTORIAL: How to Wire up & Code an EEPROM with Arduino - Module (Part 2 - Wire Up & Coding)
Показать описание
How to wire up and code an EEPROM with Arudino.
Part 1: Theory, and about bits and bytes.
Part 2: Wire up, Coding and testing.
Part 1: Theory, and about bits and bytes.
Part 2: Wire up, Coding and testing.
 0:18:46
Home Electrical Wiring Basics - Tutorial (2022)
 0:15:38
TUTORIAL: How to Wire up & Code an EEPROM with Arduino - Module (Part 1 - Theory)
 0:07:05
Two Way Switching Explained - How to wire 2 way light switch
 0:29:36
Ultimate Electricity Guide - Beginner To CHAD 2022 | Rust Tutorial
 0:01:07
Tutorial | How to Make your own 5v USB power supply CABLE (without soldering)
 0:07:52
Single Phase Electric Motor Wiring Tutorial: Baldor, WEG, Leeson
 0:03:54
How to Wire a 3-Way Switch
 0:15:33
How to Crimp Various Electrical Wires: Beginner and Expert Tutorial
 0:12:26
Square German Wire Pendant Jewelry Making Tutorial
 0:21:20
How To Wire A Stratocaster - Tutorial
 0:00:07
How to run drone coreless motor to mini drone motor
 0:19:12
How to wire a single phase distribution board and load circuits - tutorial
 0:03:52
How to make CAT-5 Cable / Network Wire - Tutorial Guide
 0:12:57
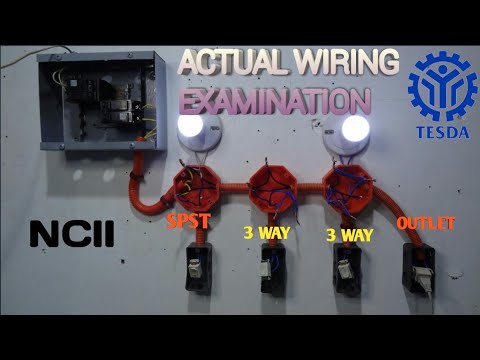
TESDA ELECTRICAL NCII ACTUAL WIRING INTALLATION TUTORIAL
 0:13:50
How to wire any South African wall plug outlet / socket - Tutorial
 0:20:24
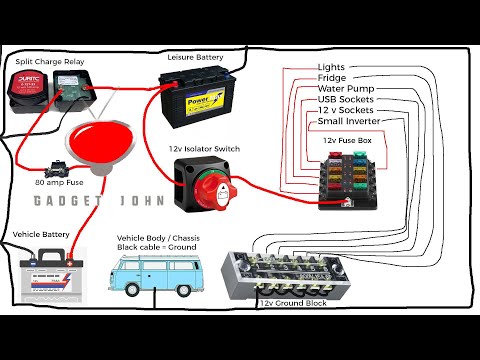
Complete 12v Campervan, RV, MotorHome, Boat Wiring Tutorial
 0:04:51
How to Wire a Ceiling Fan | Lighting and Ceiling Fans | The Home Depot
 0:03:57
Soldering Tutorial for Beginners: Five Easy Steps
 0:14:36
How to wire a distribution board with two neutral rails - tutorial (South Africa)
 0:10:00
How to Read PLC Wiring Diagram | PLC Wiring Tutorial for Beginners | PLC Panel Wiring Diagram
 0:04:21
DMX Lighting Tutorial Part 4: DMX Wiring | UniqueSquared.com
 0:38:04
HSS Strat Wiring Tutorial
 0:03:53
Arduino Tutorial: LED Sequential Control- Beginner Project
 0:26:13
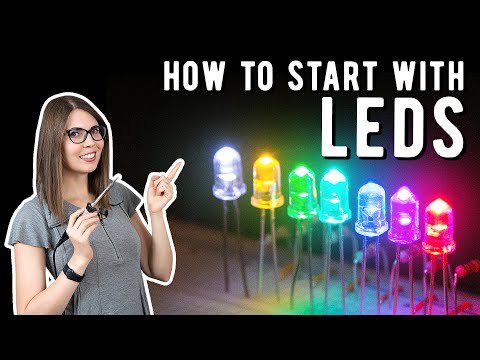
I help you get started with LEDs - Cosplay Tutorial
Комментарии