filmov
tv
Creating Professional Lower Thirds: Adobe After Effects & Premiere Pro Tutorial

Показать описание
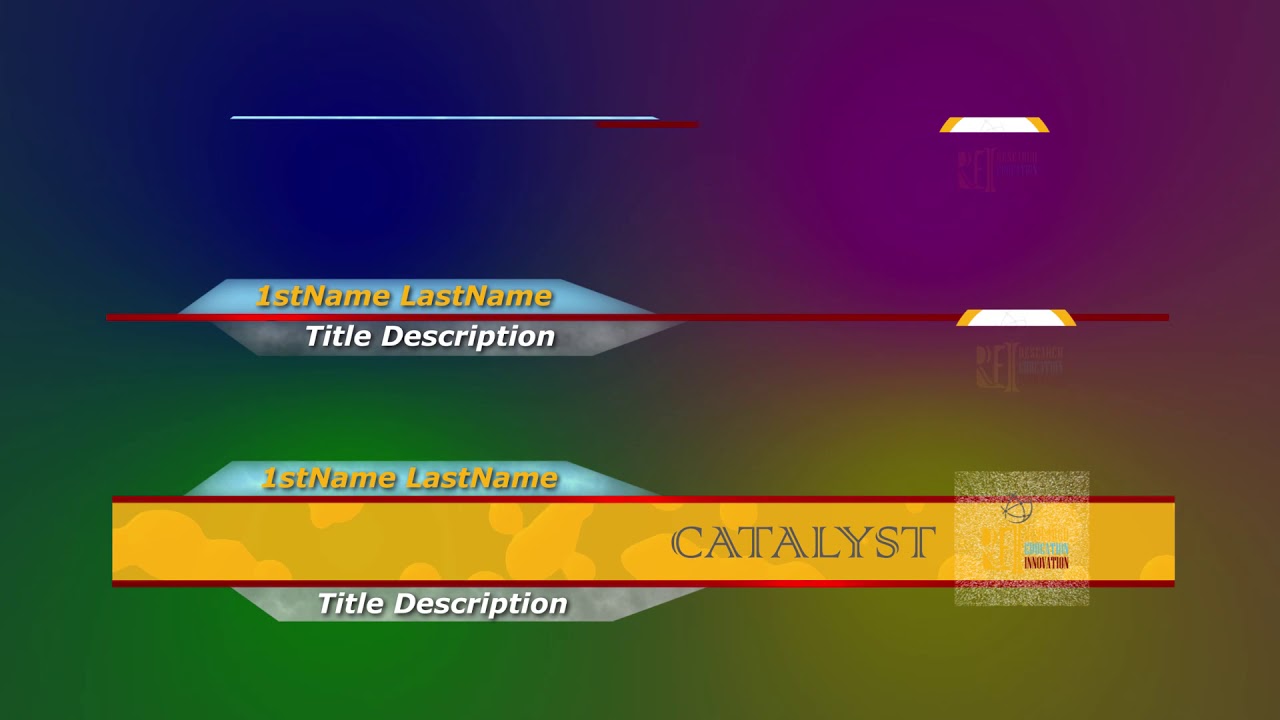
Designing a lower third (often abbreviated as "lower 3rd" or "lower third") using Adobe After Effects and Premiere Pro allows for professional-looking graphics to enhance video content. Lower thirds are commonly used in television, film, and online videos to display information such as a person's name, title, or other relevant details. Here's how you can create and use lower thirds effectively using these Adobe applications:
Using Adobe After Effects:
Create a New Composition:
Open Adobe After Effects and create a new composition (Composition - New Composition).
Set the dimensions and duration of your composition based on your video project settings.
Design the Lower Third Graphic:
Use the Text Tool (shortcut: Ctrl/Cmd + T) to create text layers for the lower third.
Customize the font, size, color, and alignment of the text to match your video's style and branding.
Consider adding additional design elements such as shapes, lines, or icons to enhance the lower third's visual appeal.
Animate the Lower Third:
Apply animation effects to the lower third to make it enter and exit the screen smoothly.
Use keyframes to animate properties such as position, scale, opacity, and rotation.
Consider using motion presets or easing functions to create natural-looking animations.
Add Dynamic Elements:
Incorporate dynamic elements like transitions, effects, or text reveals to make the lower third more engaging.
Utilize After Effects' features such as masks, effects, and layer styles to add depth and visual interest.
Export the Lower Third:
Once the lower third design is complete, export it with a transparent background (alpha channel) to preserve transparency for overlaying on videos in Premiere Pro.
Choose Composition
Add to Render Queue and select a suitable video format with an alpha channel (e.g., QuickTime with Animation codec).
Using Adobe Premiere Pro:
Import the Lower Third Graphic:
Open Adobe Premiere Pro and import the After Effects composition containing the lower third graphic.
Drag the composition onto the timeline to overlay it on your video footage.
Position and Customize:
Adjust the timing and position of the lower third on the video track.
Use the Effect Controls panel to modify parameters such as scale, position, and opacity as needed.
Add a drop shadow or outline effect to improve visibility against different backgrounds.
Animate (if necessary):
Premiere Pro allows for basic animation of position, scale, and opacity directly on the timeline.
Use keyframes to animate the appearance and disappearance of the lower third if you didn't animate it in After Effects.
Save and Export:
Once the lower third is positioned and customized to your satisfaction, save and export your video project.
Use Premiere Pro's export settings to render the final video with the lower third overlay included.
By following these steps, you can effectively design and implement lower thirds using Adobe After Effects and Premiere Pro, enhancing your video productions with professional-quality graphics and information display. Adjust the techniques based on your specific project requirements and creative preferences.
 0:06:41
 0:03:38
 0:07:22
 0:00:17
 0:05:36
 0:15:32
 0:03:29
 0:24:07
 0:15:02
 0:12:15
 0:13:32
 0:04:55
 0:08:53
 0:06:46
 0:44:31
 0:10:35
 0:00:36
 0:06:38
 0:12:26
 0:00:55
 0:27:41
 0:20:23
 0:08:01
 0:00:06