filmov
tv
Build Apps With Push Notifications | Glide Apps Tutorial | No Code

Показать описание
This feature is still in beta and the functionality may change.
In this video, we will guide you through the process of integrating push notifications into your Glide app. By enabling push notifications, you can enhance user engagement and keep your app's users up to date with important updates and information.
To get started, simply navigate to the settings menu in your Glide app and select the push notifications option. This will allow you to access the necessary features to enable and manage push notifications.
Please note that obtaining permission from each individual user is crucial for sending push notifications. Thankfully, our app provides a convenient button that users can click to grant permission. This ensures that users have full control over receiving notifications from your app.
Adding the "send push notification" action to your app is a breeze. You can do this by incorporating it into your app's workflows or utilizing app components to trigger the action. This flexible approach makes it easy for you to seamlessly integrate push notifications into your app's functionality.
Moreover, you have the option to include a computed column in your app. This advanced feature allows you to track the push notification access status dynamically. If a user hasn't granted the necessary permission, you can use this column to send reminders and encourage them to enable push notifications.
Don't miss out on the opportunity to make your app even more interactive and engaging. Integrate push notifications into your Glide app today and reap the benefits of increased user engagement and improved app functionality.
push notifications, integration, Glide app, settings menu, permission, enable, button, workflows, app components, computed column, access status, reminders, user engagement, interactive, functionality.
#appdevelopment #pushnotifications #Glideappintegration #userengagement #appfunctionality #notifications #buildyourapp
 0:01:26
Build Apps With Push Notifications | Glide Apps Tutorial | No Code
 0:07:53
How Push Notifications Work on Mobile Apps
 0:00:38
Why you SHOULDN’T build a mobile app 📱👩💻 #technology #programming #software #career #tech...
 0:16:56
Glide Integrations: Push Notifications
 0:01:01
NOW in a minute: Creating mobile push notifications for your custom apps
 0:04:23
How to configure Push Notification Feature on Android and iOS Devices | Appmaker No-code App Builder
 0:12:22
Push Notifications: Best Practices and Revenue Boosting Strategies
 0:00:27
Push Notifications are NOT what you think
 0:05:49
10 Best Push Notification Services and Tools in 2024
 0:19:28
Setup Push Notifications in your Expo App
 0:00:26
Push Notifications in 20 Seconds
 0:01:36
Create Progressive Web Apps And Send Push Notifications
 0:00:59
How Push Notifications Actually Work (behind the scenes)
 0:22:03
Create push notifications for Power Apps mobile - Tutorial
 0:08:15
HOW DO PUSH NOTIFICATIONS WORK ? | WHATSAPP CHAT NOTIFICATIONS | SYSTEM DESIGN | DISTRIBUED SYSTEMS
 0:15:57
SwiftUI Push Notifications Crash Course
 0:11:10
Smart Push Notifications with Flutter & FCM
 0:11:38
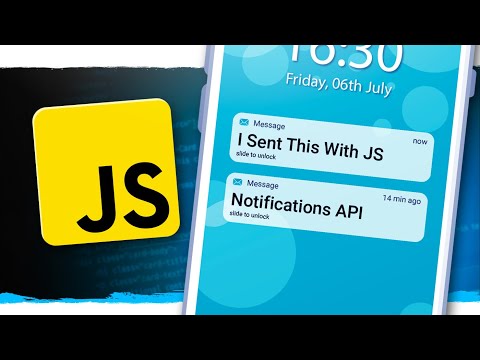
How To Send Push Notifications With JavaScript
 0:00:23
Send push message from your own mobile app
 0:06:44
How to Send AWS SNS Mobile Push Notifications (12/13)
 0:06:04
Flutterflow Push Notifications made super easy with BuildShip FULL Tutorial
 0:04:58
Send Daily Push Notifications to Your Phone Using Python | Build A New Year's Resolution BOT (f...
 0:01:28
How to send push notifications from firebase
 0:08:10
Progressive Web Apps in 100 Seconds // Build a PWA from Scratch
Комментарии