filmov
tv
Arduino Tutorial #1 - Digital Inputs and Outputs - Button & LED
Показать описание
Contribute:
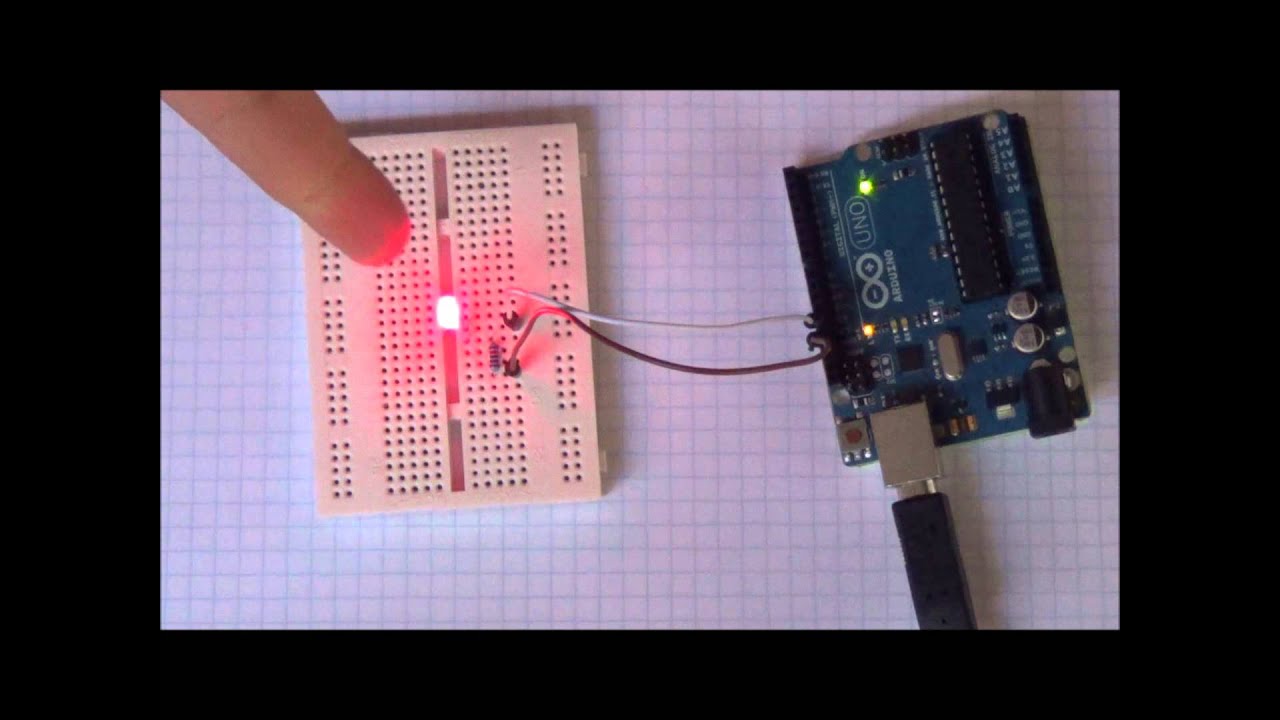
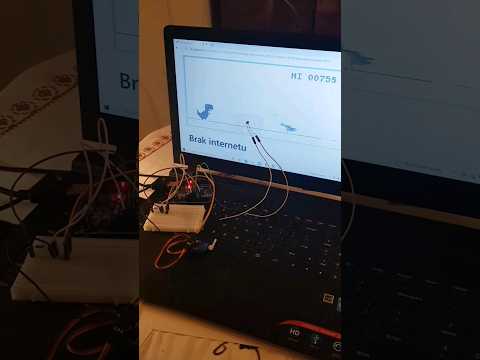
In this tutorial I show you how to build three basic projects with the Arduino.
The first one is a simple blinking LED which is already on the board.
The second one involves connecting an LED onto the breadboard with a current limiting resistor.
The last one is a button which is used to control the on/off state of our LED.
Make sure to comment, rate and subscribe to my channel; stay tuned for more tutorials.
Search Terms and Keywords:
Arduino
Arduino Tutorial
Arduino Getting Started
Basic Arduino
Arduino Class
Arduino Hardware
Arduino Software
Arduino Code
Arduino Example
Arduino Project
Arduino How To
Arduino LED
Arduino Push Button
Push Button
Light Emitting Diaode
Atmega
Atmega328
Tutorial
Basic Hardware
Electronics
Electrical Engineering
Electronic Circuit
Simple Arduino Projects
 0:23:50
Arduino Tutorial 1: Setting Up and Programming the Arduino for Absolute Beginners
 0:07:10
Arduino Tutorial #1
 0:03:38
Arduino Tutorial - 1. Einführung (#1)
 0:37:26
Arduino Tutorial #1 - Getting Started and Connected!
 0:07:59
LED Arduino Tutorial #1 - Elegoo Uno R3 Basic Starter Kit
 4:04:22
Arduino Course for Beginners - Open-Source Electronics Platform
 0:16:34
You can learn Arduino in 15 minutes.
 0:02:22
Arduino in 100 Seconds
 0:01:00
4 counters on single LCD using PIC16F877A microcontroller. #circuitsimulation #electronics
 0:03:41
Arduino - Introduction and Software Installation | Arduino IDE | Tech at Home [Arduino Tutorial 1]
 0:03:53
Arduino Tutorial: LED Sequential Control- Beginner Project
 0:02:50
Arduino Blinking LED Tutorial
 0:01:09
Arduino Tutorial #1 - Digital Outputs - Controlling an LED
 0:06:33
Arduino Coding for Beginners | How to Program an Arduino?
 0:07:24
Arduino Tutorial #1 DigitalRead und PinMode
 0:08:25
Arduino tutorial 2- LED Blink program with code explained | How to blink an LED using Arduino |
 0:04:21
Arduino Tutorial for Beginners 1 - Introduction to Arduino
 0:02:20
SEGMENT DISPLAY ARDUINO tutorial | seven SEGMENT DISPLAY ARDUINO UNO [code and circuit diagram]
 0:17:21
Arduino Uno - Pins Overview
 0:08:49
Getting Started with Arduino: The LED Blink Tutorial
 0:00:40
Arduino project 😎^ Arduino #arduino #2022 #2021 #2023 #dc #arduinoproject #diy #foryou
 0:00:16
Amazing arduino project | Check description to get free money.
 0:08:51
BLINKING THE BUILDIN LED - Arduino tutorial #1
 0:02:20
Arduino: Lesson 1 - Blinking an LED
Комментарии