filmov
tv
ARDUINO CLOCK OLED DISPLAY AND ANIMATION - Arduino project

Показать описание
Learn how to build two different clocks. The first clock can adjust the time by using an hours and minutes button. You also learn how to create an animation. The second clock makes it possible to adjust the hours, minutes and seconds by using a menu. You also learn how to use interrupts and debounce for your buttons.
We also going to replace delay() with millis(), and learn how to detect whether a button hasn't been pressed for a certain period of time.
I explain the mistakes I've made while creating this project, so you don't have to make them as well.
The Arduino for beginners tutorials series guides you through the world of Arduino. A video shows you step-by-step how to build the circuit and write the code. The website contains the course material, circuit diagram, Arduino code and shopping list of all the components used in the tutorial.
CHAPTERS:
00:00 Introduction
01:07 Components
01:28 Project design - part 1
04:40 Building the circuit
06:33 Arduino code - delay()
13:40 Arduino code - millis()
18:29 Arduino code - animation
21:29 Arduino code - button debounce
24:18 Arduino code - interrupts
28:26 Project design - part 2
29:59 Arduino code - mode / set
37:47 Arduino code - interrupts and timeout
42:48 Conclusion
COMPONENTS
🇨🇳 Arduino Uno (clone)
🇳🇱 Arduino Uno (clone)
🇨🇳 3x breadboard
🇨🇳 1x breadboard large
🇨🇳 Jumper wire male-male
🇨🇳 128x64 I2C OLED (blue)
🇳🇱 128x64 I2C OLED (blue)
🇨🇳 128x64 I2C OLED (white)
🇳🇱 128x64 I2C OLED (white)
🇨🇳 128x64 I2C OLED (white)
🇨🇳 128x64 I2C OLED (yellow-blue)
🇳🇱 15x colored tactile switches
🇳🇱 5x colored tactile switches
🇨🇳 50x colored tactile switches
#arduino #BasOnTech
 0:00:25
Arduino Nano with DS3231 Real-Time Clock | KitKraft Timekeeping Automation Project
 0:00:28
Arduino Nano with DS3231 Clock Module and SSD1306 OLED
 0:00:36
SSD1306 - amazing OLED display module. #arduino #arduinoprogramming #technology
 0:00:16
DIY Arduino Digital Clock. OLED display and RTC #electronics #diy #digitalclock in
 0:02:08
Arduino GPS Clock with Speedometer | Tripmeter
 0:16:44
Arduino + OLED + DS1307 RTC | Analog Clock (Including Digital Clock, Date, Settings Menu and Alarms)
 0:03:59
How to Create an Internet Clock with ESP32 & OLED 128x64 Display | Live Date & Time Tutorial
 0:03:08
Arduino OLED Clock Project (Arduino Nano, OLED display, SSD1306, DS3231)
 0:00:19
OLED DIGITAL CLOCK USING DS323 RTC MODULE, SSD1306 OLED DISPLAY AND ARDUINO NANO.
 0:01:37
0.96 SPI 128X64 OLED Display Arduino Clock Temperature Humidity DHT22
 0:00:15
ESP8266 NTP Clock with OLED Display #diy #arduino #iot #maker
 0:16:47
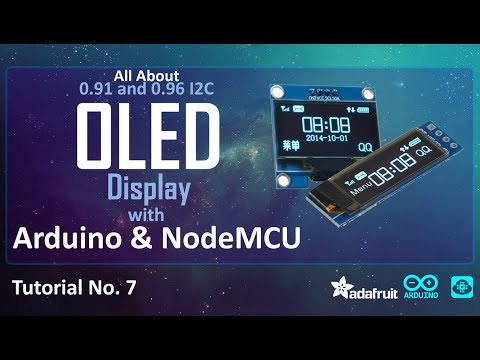
Tutorial on I2C OLED Display with Arduino/NodeMCU
 0:05:18
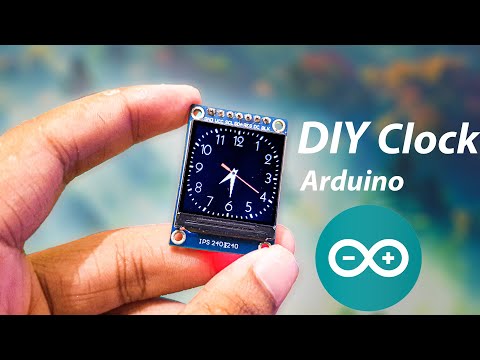
DIY clock with TFT Display and Arduino
 0:03:40
How to Use Transparent OLED display with Arduino | DF Robot
 0:09:31
DIY Arduino SmartWatch, OLED, Wemos D1 mini, ESP8266 | Mr B Does Electronics
 0:00:24
Arduino UNO Based Small OLED RTC Display Module From iTead.cc
 0:08:02
New Possibilities: Arduino UNO + 128x128 OLED Display in WOKWI (SH1107)
 0:45:46
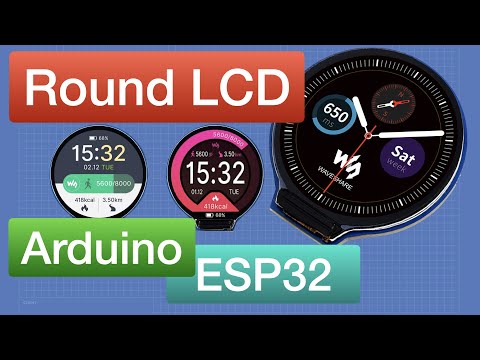
GC9A01 Round LCD with ESP32 & Arduino
 0:04:55
Arduino oled clock and ESP8266 weather station on same OLED screen || PART-1
 0:02:43
OLED I2C Display With Arduino Nano tutorial
 0:05:26
DIY Cool Watch (Arduino OLED)
 0:08:22
How to Get Started with Arduino OLED Displays: A Beginner's Guide
 0:03:27
Arduino STM32, touch screen button set rtc clock show on oled (Test rtc & button)
 0:04:00
ISS Clock running on an ESP8266 + OLED Display...
Комментарии