filmov
tv
How to Make a Wooden Straight Edge for Woodworking

Показать описание
Joshua Farnsworth shows how to use hand tools to make a wooden straight edge, one of the most important tools in a workshop...see the full tutorial, tool brands, & photos here:
 0:09:19
How to make a very simple wooden frame
 0:10:53
How to make a Wooden Star (detailed)
 0:00:12
Bamboo Creations With Wooden Craft #bamboo #Toy #Diy
 0:00:31
Making fondant look like wood #shorts
 0:07:14
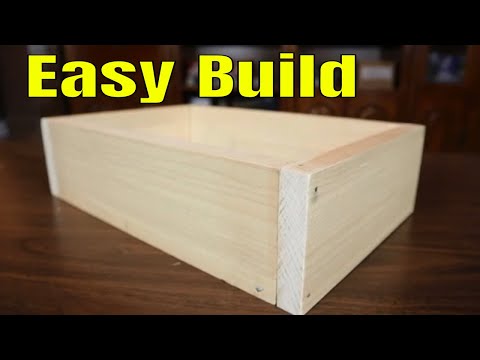
How To Make A Wooden Box For Beginners ( The Simple Way )
 0:00:46
Why buy it when you can build it? #tooltips #diy #woodwork #wood #woodworking #tips
 0:00:13
This guy has the guts to make toys made of wood by hand
 0:00:21
Creativity from wood | The best wood art #wood #bamboo @Bambooidea
 0:00:59
How I made a miniature wooden spoon
 0:11:54
How To Make A Simple Wooden Box
 0:01:00
carving a spoon out of almond wood!
 0:11:08
Make a Simple Wooden Spatula - Free Pattern on my Site
 0:00:39
Make a Fancy Phone Stand
 0:00:19
Making A HOMEMADE Baseball Bat ⚾️
 0:00:20
Handmade a New style wooden crossbow # Craft # DIY # Cool idea for you enjoy
 0:01:00
DIY Wooden Coasters with Pretty Paper Napkins #decoupage #shorts
 0:00:55
SIMPLE Way To Make A Wooden Hammer! #survival #camping #outdoors #bushcraft
 0:14:02
How to make a Wooden Katana from hardwood flooring // Woodworking | I Like To Make Stuff
 0:09:43
How to Make the Ultimate Wooden Clamp - Woodworking
 0:00:33
Relax, it’s art 🪵 #carving #woodcarving #woodworking #woodworkingart #nature #relaxing
 0:00:13
I make wooden stools. Carpenter. Professional carpenter. Rural craftsmanship. Mortise and tenon
 0:00:54
Ebonising Oak With Vinegar and Steel Wool. #shortvideo #ebonising #woodwork
 0:00:23
Make a Toothbrush out of Wood for Survival 🌲 #survivalhacks
 0:00:48
Wooden Dowel Diy || Woodworking Jig #woodwork #hack #shorts
Комментарии