filmov
tv
How to Start Page Numbering From a Specific Page in MS Word | Create a Table of Contents ⌨️

Показать описание
Step by step, learn how to add a table of contents into your document in Microsoft Word, have your page numbers start from a specific page (and/or beginning from the number 1), and use the styles feature using the application for Windows.
Whether you’re a student or a professional and you have a document that has lots of pages and sections, a Table of Contents (TOC) can make your document more readable, usable, and appear more professional.
📚Chapters:
00:00 Introduction
03:20 Formatting Headings with Styles Feature (to create table of contents)
06:40 Inserting Page Numbers (to start from a specific page)
09:20 Inserting the TOC
💡Tip: Before you can make a Table of Contents, you have to know how to use the Styles feature in Microsoft Word. Only built-in, embedded headings from this feature will show up in your automatic Table of Contents.
✅ Task 1) Add headings to your document using the Styles feature. Text that uses a heading is automatically included as part of a table of contents.
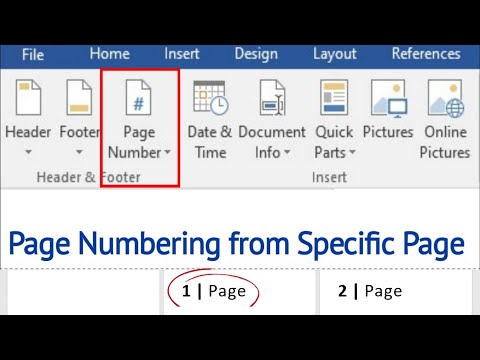
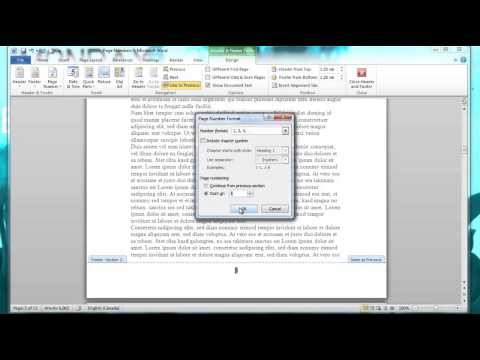
✅ Task 2) To add page numbers, click the Insert tab and select the Page Number option. Next, to have page numbers appear on a page other than the first page in your document, go to Header and Footer tab and check the box that reads Different First Page. To have page numbers appear after your Table of Contents, go to Layout tab, select Breaks and click Next Page, until you have your page numbers where you want them. To begin page numbers at 1, go to Insert tab, click Page Number, and select Format Page Numbers. When dialogue box appears, select Start At option and enter the number "0." Then, click OK.
✅ Task 3) Once headings are created, click into the References tab and insert a Table of Contents (located in the upper left corner).
💡Tip: If you make any changes to the document, you can use the References tab to update the Table of Contents, as well as the page numbers within the Table of Contents.
👏🏽 Now your document is easier to navigate, especially with the embedded hyperlinks! 👏🏽
Version: Microsoft® Word for Microsoft 365 MSO (Version 2503 Build 16.0.18623.20178) 64-bit.
💻 Windows platform.
Whether you’re a student or a professional and you have a document that has lots of pages and sections, a Table of Contents (TOC) can make your document more readable, usable, and appear more professional.
📚Chapters:
00:00 Introduction
03:20 Formatting Headings with Styles Feature (to create table of contents)
06:40 Inserting Page Numbers (to start from a specific page)
09:20 Inserting the TOC
💡Tip: Before you can make a Table of Contents, you have to know how to use the Styles feature in Microsoft Word. Only built-in, embedded headings from this feature will show up in your automatic Table of Contents.
✅ Task 1) Add headings to your document using the Styles feature. Text that uses a heading is automatically included as part of a table of contents.
✅ Task 2) To add page numbers, click the Insert tab and select the Page Number option. Next, to have page numbers appear on a page other than the first page in your document, go to Header and Footer tab and check the box that reads Different First Page. To have page numbers appear after your Table of Contents, go to Layout tab, select Breaks and click Next Page, until you have your page numbers where you want them. To begin page numbers at 1, go to Insert tab, click Page Number, and select Format Page Numbers. When dialogue box appears, select Start At option and enter the number "0." Then, click OK.
✅ Task 3) Once headings are created, click into the References tab and insert a Table of Contents (located in the upper left corner).
💡Tip: If you make any changes to the document, you can use the References tab to update the Table of Contents, as well as the page numbers within the Table of Contents.
👏🏽 Now your document is easier to navigate, especially with the embedded hyperlinks! 👏🏽
Version: Microsoft® Word for Microsoft 365 MSO (Version 2503 Build 16.0.18623.20178) 64-bit.
💻 Windows platform.
 0:01:36
How to start page numbering from a specific page in word
 0:01:34
How to start page numbering from specific page | MS Word ⏩
 0:06:47
How to Insert Page Number in Word from Specific Page
 0:01:53
How to Start Page Numbering on Page 3 | Microsoft Word
 0:01:22
How to start page numbering from specific page | MS Word
 0:01:40
Microsoft Word - How to start page numbers on page 3?
 0:00:57
How to Start Page Numbering from Page 2 in MS Word #PageNumbering #DifferentFirstPage #CoverPage
 0:01:07
How To Start Page Numbering From Page 2 In Word - Full Guide
 0:02:08
How to Delete Extra Page in Word
 0:01:16
How to: Start Page Numbering on Page #2
 0:00:53
How to Start Page Numbers on Page 3 (or Other Pages) in Microsoft Word
 0:04:13
Start Page Numbers on a Specific Page in Microsoft Word - Start Page Numbering on Page X in Word
 0:01:25
How To Start Page Numbering From Specific Page In Google Docs - Full Guide
 0:01:57
Page Numbers Starting at a Specific Page in Word 2010
 0:02:01
Start page Number form a specific page in Word
 0:01:38
How to Start Page Numbering from a Specific Page in Word || MS Word ||
 0:05:54
How to Start Page Numbers on a Specific Page in Microsoft Word (PC & Mac)
 0:00:55
How to INSERT Page Numbers in Microsoft Word
 0:00:39
How to INSERT Page Numbers in Microsoft Word #word
 0:02:31
How to insert two different page numbering format in the same Word document|page numbering in Thesis
 0:01:17
How to Start Page Numbering from Specific Page in Word [2024] Easy Tutorial
 0:00:34
How To Put Page Number on Microsoft Word
 0:02:06
How to Insert Page Number in Word from Specific Page
 0:05:02
Start page numbering at 1 on page 3
Комментарии