filmov
tv
11 Things I Wish I Knew about Polymer Clay when I started

Показать описание
In this video I'll take you through 11 things I wish I knew before I started polymer clay. It is great for beginners, but may also include a couple of useful tips for polymer clay artists. Topics will include:
1. Using the right polymer clay for the job
2. Making your clay workable (conditioning, clay softener and leaching)
3. Getting rid of air bubbles and lint
4. Curing Your Clay Correctly
5. Finishing your pieces (sanding and sealants)
6. Mixing different clay brands
7. Burnishing your clay when using cutters
8. Using a Tissue Blade
9. Using a Pasta Machine
10. Different = Different (and that's ok)
11. WARNING: Polymer Clay is addictive!
If you have any questions about our video, or the making process, we'd love to help - just comment below :)
We’d love for you to like, share and subscribe for more fun and instructional videos!
You can also find us on …
You can also subscribe to our newsletter via our website to get exclusive discounts, maker news, and product updates.
Thanks for watching and happy making!
The MyClayCo Team x
 0:24:48
11 Things I Wish I Knew Before Having Two Kids (baby #3?, recovery changes in our relationship)
 0:48:55
💥11 THINGS I WISH I KNEW!!💥
 0:18:01
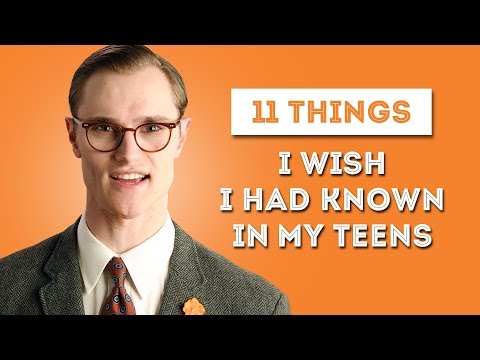
11 Things I Wish I Had Known in My Teens - Adult Tips for My Younger Self
 0:09:31
11 Things I Wish I'd Known About Zwift
 0:18:19
11 Things I wish I’d been taught at school | Dave Cornthwaite | TEDxSquareMile
 0:17:50
11 THINGS I WISH I KNEW BEFORE WEIGHT LOSS SURGERY & GASTRIC BYPASS
 0:18:29
11 Things I Wish I Knew about Polymer Clay when I started
 0:02:01
11 Things I Wish I Knew in Middle School #TodayILearned | 11 BEFORE 12 by Lisa Greenwald
 0:08:44
11 things I wish I knew before my first Carnival cruise
 0:14:04
11 Things I Wish I Had Know Before Buying an E Bike | Essential Electric Bicycle Info
 0:00:42
11 Things I Wish I Knew Before Planning My Retirement #ebook #kindle #retirement #howto #books
 0:11:52
11 Things I Wish I Would Have Known When Starting My Skincare Journey & What I've Learned
 0:09:13
Grim Dawn - 11 Things I Wish I Knew Sooner
 0:29:17
11 Things I Wish I Knew When I Started Planning! Tips for Planner Beginners
 0:15:46
11 Things I Wish I Knew When Starting My Photography Business
 0:19:11
11 Things I Wish I Knew Before Moving to Medellín
 0:12:49
Dear Undiagnosed Autistic Teenagers: 11 Things I Wish I Had Known
 0:16:38
11 Things I Wish I Knew Before Becoming an Actor | Best Actor Success Secrets for Beginners | Advice
 0:26:14
11 Things I Wish I Knew Before Starting DESYNCED Early Access | Tutorial/Guide
 0:33:42
11 THINGS I WISH I KNEW BEFORE GETTING MARRIED! Learn from my Mistakes (5 Years Later)
 0:17:36
11 Things we WISH we knew before TRAVELLING AUSTRALIA!
 0:11:48
11 THINGS I WISH I KNEW BEFORE MY FIRST MARATHON
 0:21:13
11 things I wish I knew before I started producing | Justin Beck
 0:00:35
12 Things I Wish I Knew Before I Gave My Home a Makeover
Комментарии