filmov
tv
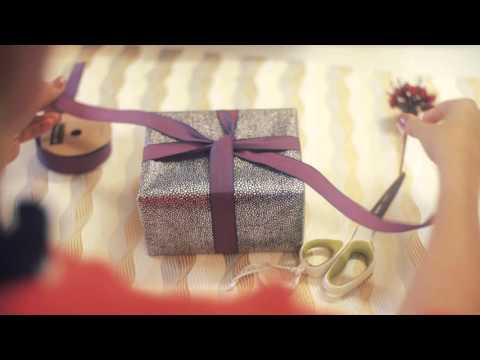
How to make a ribbon brush 🎀

Показать описание
Reposting this video in case you need it for prompt 2 of the Lettering Style Challenge: Ribbon 🎀
To make this brush work, make sure you are smudging colours already laid down on your canvas.
Here’s the step-by-step:
✦ Create a square canvas with a black background (mine is 3,000 x 3,000 pixels).
✦ Draw a white rectangle and rotate it to 45º.
✦ Swipe down with 3 fingers and click Copy All.
✦ Create a new brush.
✦ Paste the shape you just created under the Shape section.
✦ In Stroke Path, change the Spacing to None.
✦ In Apple Pencil, change the Opacity to None.
✦ In Properties, change the Smudge Pull to 100%.
✦ In Stabilisation, change the StreamLine Amount to 80% (optional).
If you want to learn more about making Procreate brushes, check out my course, Brush Creation Secrets. 🪄
For this prompt, I will personally draw my lettering with a normal brush, duplicate it, move it down, connect the corners, fill in the shape and add shadows afterwards. But both methods work! Use the method that inspires you the most!
Don’t forget prompt “Ribbon” is due October 2nd 😉
Good luck ✨
T O O L S ✍🏽
iPad Pro 12.9” (4th generation 256GB)
Apple Pencil (2nd generation)
Procreate App @Procreate
All my Procreate brushes are available on my Shop! ✨
#letteringstylechallenge #letteringstylechallenge2024 #procreatebrushes #letteringart #ribbonlettering
 0:01:49
DIY crafts - How to Make Simple Easy Bow/ Ribbon Hair Bow Tutorial // DIY beauty and easy
 0:01:58
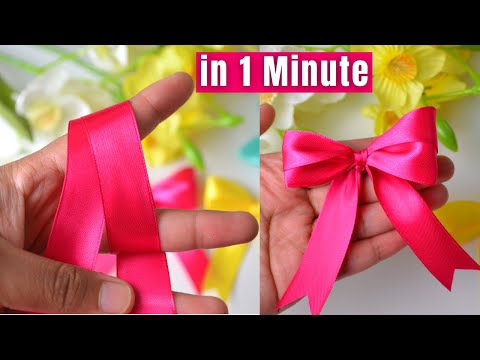
How to make simple easy bow in 1 minute | DIY ribbon bow | Ribbon Hair bow | Double bow with ribbon
 0:01:03
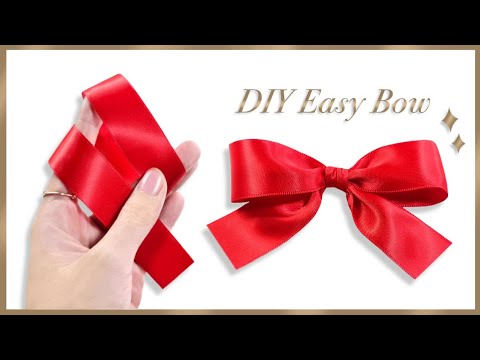
How to tie the perfect bow | DIY ribbon bow | How to make simple satin bow | Gift Wrapping Land
 0:01:23
How to tie the perfect bow | DIY ribbon bow | How to make simple satin bow | Gift Wrapping Land
 0:02:26
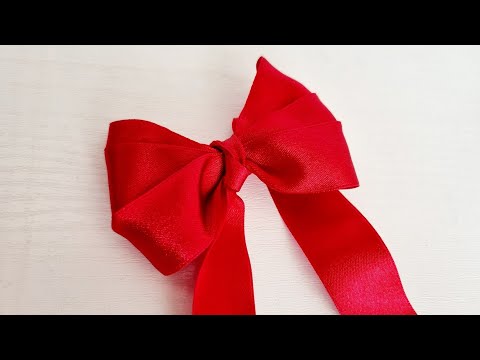
Very Easy Step By Step Bow Making | DIY Ribbon Bow | Ribbon Hair Bow Tutorial | How To Make Bow
 0:00:48
DIY Hair Bow Tutorial: Fabulous Styles with Organza Ribbons! 🎀💁♀️
 0:05:15
How to Tie a Bow - 4 simple ways - quick and easy DIY Tutorial
 0:03:31
EASY FINGER BOWS
 0:03:35
DIY Ribbon Rose flowers | How to make ribbon rose | Ribbon decoration ideas |HAPPY WOMEN'S DAY ...
 0:03:33
How to make a beautiful ribbon bow
 0:00:18
DIY bow tutorial #diy #handmade#bow#diytutorial #shorts#trending
 0:01:43
Easy Satin Ribbon Bow In 2 Minutes 🎀
 0:04:30
DIY Bow / How to make simple Satin Bow
 0:04:01
How to make simple easy bow | DIY ribbon bow | Ribbon hair bow tutorial | How to tie the perfect bow
 0:06:33
How To Make A Puff Bow - A Tutorial On How To Make A Bow For Flower Bouquets
 0:00:31
So that's how it's done! Make a bow
 0:00:20
Ribbon flower making - how to make satin flower easy - Diy flower
 0:02:38
How to make a Fork Bow
 0:01:46
how to make simple easy bow in 1 minute l DIY ribbon bow l ribbon hair bow l
 0:00:50
How To Make a Ribbon Bow with Fork | One-minute Video #Needlepoint #shorts
 0:05:55
How To Make Ribbon Bows For Souvenir | Easy DIY Ribbon Bow | Satin Ribbon Bow | DIY Projects
 0:01:36
Easy Double Bow Tutorial Perfect for Wreaths, DIYs and Home Decor🍂
 0:01:48
How to tie the Perfect Bow by Jane Means
 0:01:49
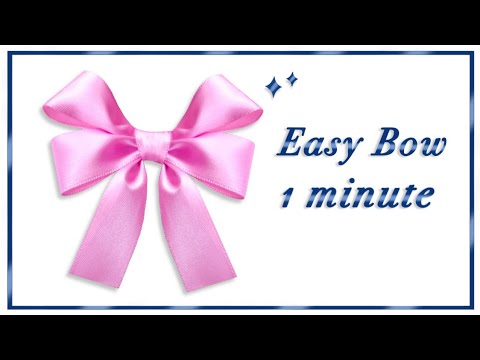
How to Make a Simple Bow - TheRibbonRetreat.com
Комментарии