filmov
tv
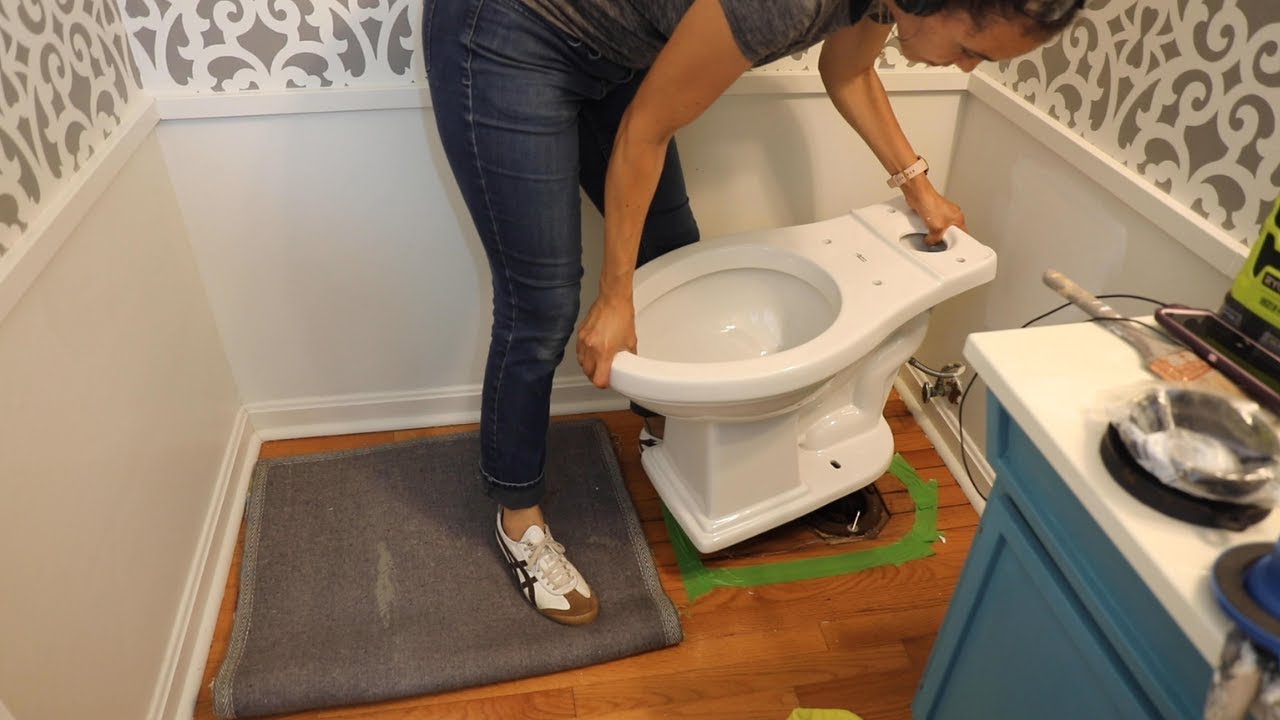
BEFORE & AFTER: How to Install a Toilet Yourself - Thrift Diving
Показать описание
****NOTE: In the video, I caulked the toilet. I have not caulked other toilets, but I decided to caulk this one per instructions in a Handyman article that suggested it. Many have noted NOT to caulk so that leaks can easily be detected. I would agree now, years later, that I would likely not caulk again. Skip the caulk. And there have been no leaks, by the way. ;)
//MATERIALS// (affiliate links included)
Bucket with a cup for removing excess water
Gloves
Towels
Screwdriver
Ratchet and socket wrench (optional)
Hack saw (optional, for removing rusted bolts or cutting down long bolts)
//BATHROOM WEEK//
Catch up with my other bathroom videos!
How to Paint a Bathtub and Clean It -- Does It Last??
Half-Bathroom Makeover
How to Paint a Bathroom Vanity
//PROJECT GALLERY//
Check out my Project Gallery:
//SUBSCRIBE//
Subscribe to my mailing list for 5 additional freebies:
***************
***************
MAILING ADDRESS:
Serena Appiah
P.O. Box 463
Spencerville, MD 20858
 0:03:57
Learn CSS ::before and ::after in 4 Minutes
 0:07:03
Math - Preschool - Before and After numbers
 0:03:45
After Before & Between Numbers || Maths Concept For Kids
 0:01:07
Before, After and In between | Learn Pre-School Concepts For Kids with Siya
 0:14:12
Before After Concept | Numbers / Days of the week / Pictures | How to teach ?
 0:01:36
How to teach before , after and between numbers for kids.
 0:10:45
Identify and learn Before, After and Between numbers easily / Diana's Classroom.
 0:09:08
Before and After pseudo elements explained - part one: how they work
 0:02:34
Learn about Before and After for Kids l What comes before and what after l Before and after for kids
 0:08:40
Before and After | Elevation Worship & Maverick City
 0:02:01
Everyday Grammar: Time Clause Before/After
 0:12:04
Three fun uses for ::before and ::after
 0:21:11
Before Vs After Exams
 0:07:34
Kindergarten: Number Before and After
 0:13:54
Before & After numbers |Counting worksheet in maths | LKG, UKG,1st Grade Maths 🙇✍️
 0:05:12
Women Before & After Removing Their Makeup | Cut
 0:00:30
BRACES | before and after | BEST SMILE TRANSFORMATION | Gummy smile | smile design | mini implants
 0:01:15
Before, After and In Between | Mathematics Book A | Periwinkle
 0:01:08
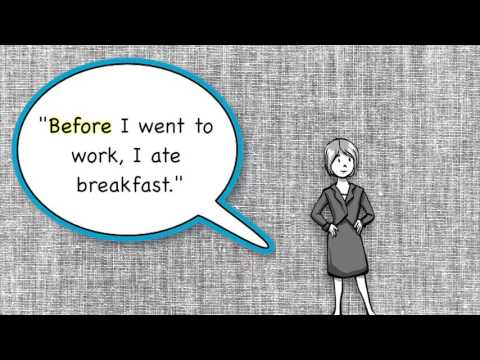
Use of BEFORE and AFTER in a sentence
 0:08:40
Before and After | Official Lyric Video | Elevation Worship & Maverick City
 0:18:13
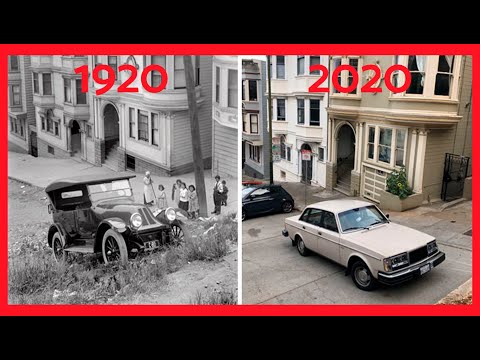
53 BEFORE AND AFTER photographs ⏳ (Historical photos)
 0:02:07
Maths TLM | Before and After Numbers | SabTube
 0:12:00
EXTREME Declutter Makeover - Check out this Before & After!
 0:11:27
BEFORE AFTER WHILE | Conjunctions | Past Time Clauses | English Grammar
Комментарии