filmov
tv
How to build an Arduino controlled solar charger

Показать описание
In this video, I'll show you how to build a solar charging circuit controlled by an Arduino. You can find the code and circuit diagrams here:
 0:16:34
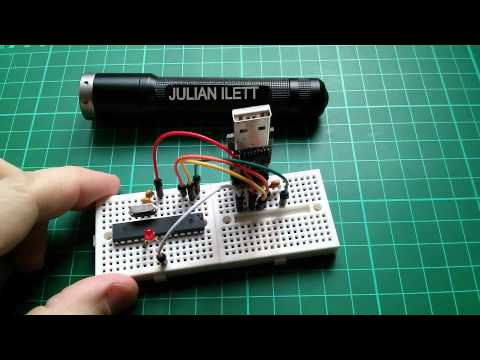
You can learn Arduino in 15 minutes.
 0:22:12
Arduino 101- Crash Course w/ Mark Rober
 0:02:22
Arduino in 100 Seconds
 0:08:14
Workbench Essentials When Starting Arduino! (Beginner Guide)
 0:00:22
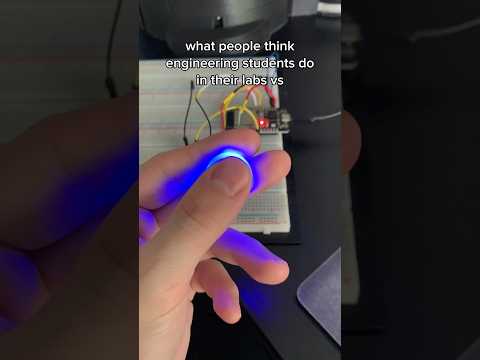
What engineering students actually do in labs 💀 #electronics #arduino #engineering
 0:13:46
Electronoobino board | How to make your Arduino UNO
 0:06:47
How to make an Arduino Board at your Home [Complete Step by Step Instructions] - DIY Arduino UNO
 0:06:33
Arduino Coding for Beginners | How to Program an Arduino?
 0:00:40
Build a 16x16 WS2812B RGB Matrix in 5 (NOT SO) Simple Steps🌟🎄 #shorts
 0:00:38
Arduino Missile Defense Radar System in ACTION
 0:00:13
NEVER buy this JOYSTICK! #electronics #engineering #arduino
 0:00:21
learn Arduino programming in 20 seconds!! (Arduino projects)
 0:03:53
Arduino Tutorial: LED Sequential Control- Beginner Project
 1:25:31
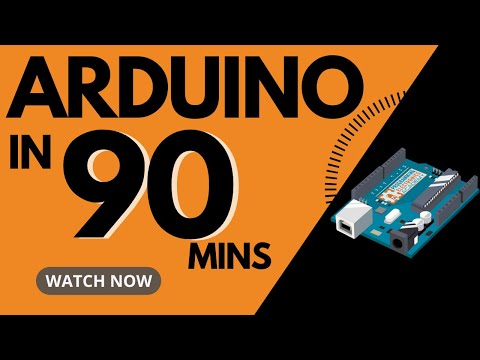
Arduino MASTERCLASS | Full Programming Workshop in 90 Minutes!
 0:00:50
8 Cool Arduino Science Projects
 0:04:21
Electronic Basics #6: Standalone Arduino Circuit
 0:00:24
Arduino Make Your Uno Kit
 0:00:58
Build an Arduino OLED Tetris Game | Arduino Projects #arduinoprojects #arduino #electronics
 0:00:17
When The Quiet Kid Does Your Homework 💀 #electronics #arduino #engineering
 0:14:23
1-Day Project: Build Your Own Arduino Uno for $5
 0:57:30
Build an Arduino EEPROM programmer
 0:00:17
What Doing Electronics Projects is Really Like 💀 #electronics #arduino #engineering
 0:01:05
Air Defense System- DIY Arduino Project - The X Lab
 0:06:10
13 Great Arduino Project Ideas for Beginners!!!
Комментарии