filmov
tv
How to Bend a 3 Point Saddle in Conduit

Показать описание
Installing conduit is quickly becoming a lost art these days with MC Cable doing most of the work for branch circuitry on most jobs. However, EMT for homeruns and even the branch circuitry on many jobs is still very relevant! And of all the bends available to electricians, there is nothing more daunting for the commercial electrician than saddle bends. In today’s episode of Electrician U, Dustin walks us through how to bend a 3-point saddle in a fashion that makes it very easy to understand!
00:00 - Intro
00:35 - Marking your conduit
04:55 - Bending conduit
🤘⚡️EU Learning System⚡️🤘
-Video courses on every side of the electrical trade (theory, code, safety, wiring, install, troubleshooting, leadership, and more)
-Practice exams for 2017, 2020, 2023 code
-YouTube videos categorized and searchable
-Audio lessons
-Forum
-Business version has admin portal and ability to assign learning to technicians and monitor progress
-Any business size from 2 techs to 2,000!
🎓💡CONTINUING EDUCATION💡🎓
-State Approved
-Video Based
✍📝PRACTICE EXAMS📝✍
-2017, 2020, and 2023 NEC versions
-Online Residential Wireman Exam
-Online Journeyman Exam
-Online Master Exam
-300 Question Online Code Cannon (not license specific, all code)
-Take as many times as you want
-All of the above come with printable PDFs
🎤🎧PODCAST🎧🎤
Spotify:
Apple Podcast:
📱👍SOCIALS👍📱
🎧🎹Music, Editing, and Videography by Drake Descant and Rob LeBlanc🎹🎧
⚡🔨SPONSOR: PENN ALUMINUM🔨⚡
#electrician #electrical #electricity
Before we get into offset bending basics, let’s take a moment to talk about aluminum conduit. Today’s sponsor- Penn Aluminum Conduit & EMT- makes some of the best aluminum conduit on the market. But why choose aluminum EMT over steel EMT? Well, it’s considerably lighter therefore it takes less labor to install and reduces wear and tear on your field staff hauling conduit around. Next, it’s much easier to bend than steel, again, making it less strenuous for your staff to install and using less labor. It’s also cheaper than steel currently, so it helps on the bottom line. Penn Aluminum has even engineered a coating for the inside of the conduit called Blue Lightning that helps with wire pulling and eliminates the snagging most often associated with aluminum conduit. Well worth it to try!
A saddle bend is helpful for having your conduit go UP and OVER an obstruction that is in your conduit path. 3-point saddles are usually used for obstacles 2” or less, while 4-point saddles are used for larger obstacles. We will be focusing on 3-point saddles today. The general idea is to have a 22-1/2” degree bend where the center of the obstacle is and opposing 10-degree bends to bring the conduit to the original plane it was on. When complete, you should have something resembling a U shape.
The first step in the process is to measure height of the obstacle and the centerline distance from the end of the conduit already installed. For today’s instruction, we will be using a 2” height. Make a line all the way around the conduit as the 2 opposing bends will be bent on the opposite side of the conduit. For the next bends, use 4” for the 1st inch of obstacle and 6” for the second inch of obstacle. Shrinkage will come into play here so a helpful dimension to use is ¼” for each inch of obstacle- or ½” for our example. So, make a mark 10-1/2” on either side of the first centerline mark you made. Again, carry the line all the way around the conduit.
Now, it’s time to bend. Insert the conduit into the bender and put the centerline mark on the notch in the bender shoe that is near the teardrop/diamond symbol. Put pressure on the conduit close to the bender shoe (not far away as this will bend the pipe further away and will cause difficulties) and bend the conduit until it is parallel to the 22-1/2 degree line. Slide the conduit (without taking it out of the shoe or turning the shoe around) until the next mark is on the arrow. Roll the conduit 180 degrees (sight down the conduit to ensure its straight and not dog-legged) and again put pressure close to the shoe but only bend until the conduit is parallel to the 10-degree line. Next, pull the conduit out of the shoe, flip it end for end and reinsert it into the shoe.
 0:08:30
EMT Bending: How To Make a 3 Point Saddle Bend Without Charts or Apps
 0:09:24
How Do I Bend a 3 Point Saddle
 0:14:06
How To Bend A 3 Point Saddle Full Instructions
 0:06:12
How To Bend Offsets On EMT Easy
 0:07:49
Conduit Bending Basics 3 Bend Saddle
 0:01:00
How to bend EMT The saddle shorts #fyp #electrical #diy
 0:03:38
How to bend copper pipe! Full cross over! #copper #plumbing #subscribe
 0:10:01
How to Bend an Offset in Conduit
 0:00:25
have you ever noticed?!! #space #spacesecrets #universe #cosmicphenomena #paradoxes #fyp #science
 0:02:43
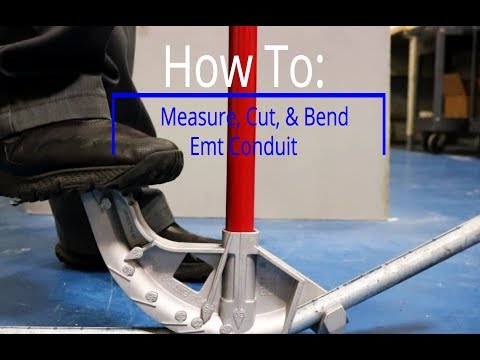
How to Measure, Cut, & Bend Emt Conduit | Galco
 0:10:23
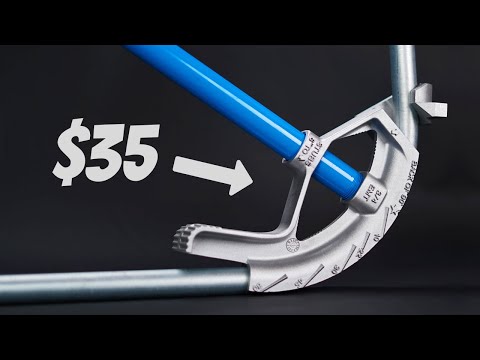
Push-Through 3 Point Saddle Bend: Easy, Fast and Good for Tight Spaces
 0:05:09
How to bend a piece of 3/4-inch plywood
 0:04:57
How To Bend EMT Conduit For Beginners!
 0:01:00
How to bend EMT 90 degree# shorts #fyp #electrical #diy #electrican
 0:08:50
How to Bend Pipe and Learn all of the Calculations for all Conduit bends!
 0:15:37
Box Offsets, 3 Point Saddle Bend, Parallel EMT Bends and Concentric 90° Stubs all in One Conduit
 0:09:36
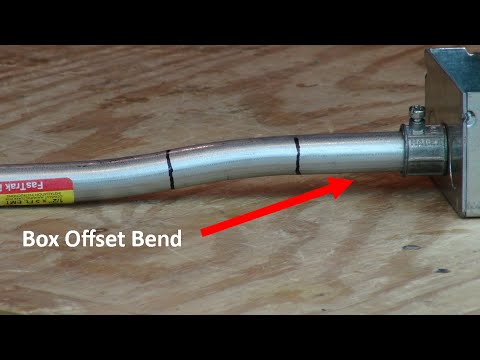
How To Bend A Box Offset On EMT
 0:12:56
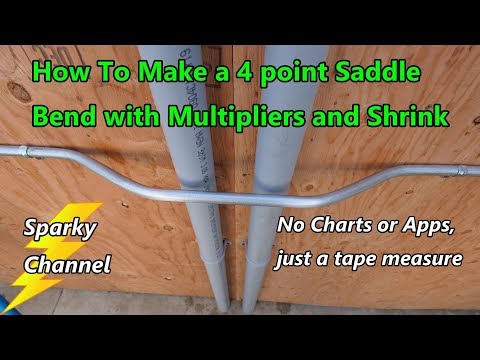
EMT Conduit Bending: Four Point Saddle Bend with Multipliers, Shrink + No Charts or Apps
 0:06:38
How to Make a 15°, 30°, 15° Three Point Saddle Bend
 0:05:08
How To Make A Box Offset Bend
 0:13:06
Three Point Saddle Bend With Box Offset Bends on Both Ends: EMT Bending Combinations
 0:02:38
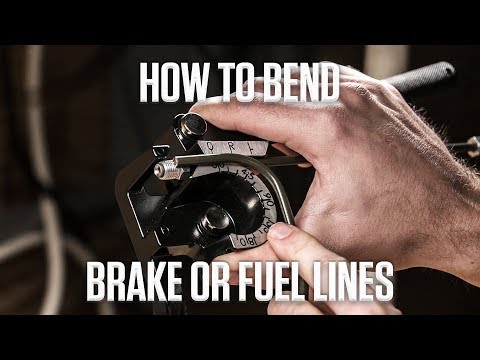
How to Easily Bend a Brake or Fuel Line
 0:07:25
How To Make a 10°, 20°, 10° Three Point Saddle Bend
 0:07:46
How to Bend Your Brake or Fuel Lines | Hagerty DIY
Комментарии