filmov
tv
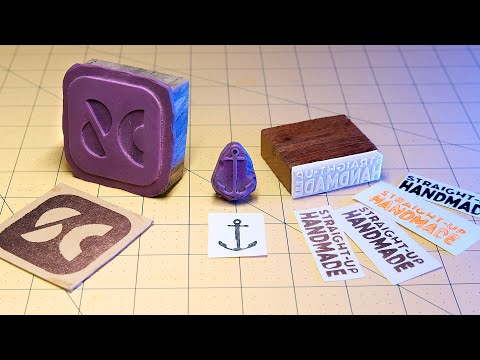
How to Make Rubber Stamps on Your Laser | Thunder 51/100

Показать описание
After receiving over 9 million views, 200K likes, thousands of questions, and hundreds of orders I finally had some time to catch my breath and make this video! Never did I ever think that so many people would be interested in custom, laser made rubber stamps but I am here to tell you that you NEED to offer these as a product! In this video I am sharing the settings and steps in making this very profitiable laser item. Let me know if you have any questions!
► TIMESTAMPS:
0:00 to 1:28 intro
1:29 to 2:08 laser safe rubber
2:10 to 4:20 Lightburn
4:54 to 5:47 cleaning stamps
5:48 to 7:55 wood mount
7:56 to 8:18 mounting stamp
8:19 to 9:30 outro
► YOUTUBE OPTIMIZATION PLUG-IN
TUBEBUDDY:
► PRODUCTS USED IN THIS VIDEO:
►MY YOUTUBE GEAR & EQUIPMENT ****
🎞 Video editing: Final Cut Pro
🙋🏻♀️SAY HI ON SOCIAL:
Website:
Instagram:
Facebook:
 0:07:34
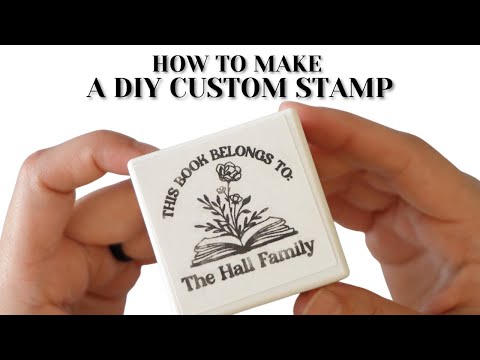
How To Make Your Own Rubber Stamps
 0:16:05
Make your own STAMPS! (Plus DIY rubber recipe!) | DIY Custom Rubber Stamps
 0:10:08
How To Make Rubber Stamps
 0:14:59
Rubber Stamps: How to Carve & Print, Step by Step for Beginner Artists
 0:08:19
Laser Engraving Rubber: Make Rubber Stamps!
 0:00:23
Rubber Stamp Maker (Flash Stamp)
 0:03:54
How To Make Rubber Stamps At Home
 0:20:28
10 Hacks That Make Your Rubber Stamping Craft More Fun
 0:14:00
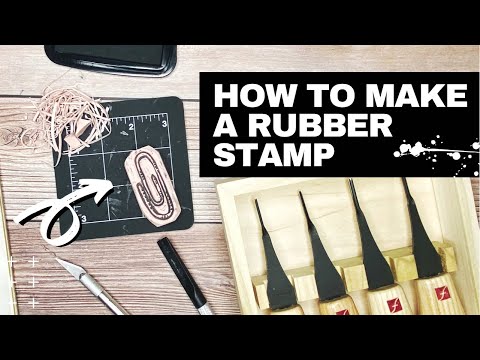
How to make a rubber stamp with the Thunder Bolt
 0:04:02
DIY Rubber Stamps // LET'S MAKE
 0:22:12
Making Custom Rubber Stamps
 0:04:21
Making a Rubber Stamp
 0:19:04
How to Make a Rubber Stamp Using a Glowforge Laser
 0:04:28
How to make professional photo polymer rubber stamp at home
 0:04:48
How to Make Pre-ink Rubber Stamps in just 5 minutes | Self Ink Flash Rubber Stamp Tutorial DIY
 0:11:24
How to Make a DIY Rubber Stamp using the Silhouette Mint
 0:22:05
How to Carve Your Own DIY Rubber Stamp | Tutorial and Materials
 0:08:40
Using Red Rubber stamps: no more foam mounting!
 0:14:51
How to Make Rubber Stamps and Block Carvings
 0:04:20
Build a Rubber Stamp with a Removable Handle // DIY
 0:03:52
How to unmount your wooden rubber stamps using EZMount foam- 2014 - Tutorial
 0:08:12
Rubber Stamp Making /How to Make Polymer Rubber stamp/seal making/DIY
 0:12:23
Making Our Own Rubber Stamps | Essdee Stamp Carving Kit
 0:04:14
Quick Create: Cheap, Easy and Quick Rubber Stamp Storage
Комментарии